
Ballet Barres – Step by Step Guide
We reached out to our friends Jana & Abby at the Ballerinas By Night blog to ask them if they would let us share their cool tutorial and video on how they create ballet barres. We appreciate them allowing us to share. The tutorial below is of a single, taller framed ballet barre. But you can apply these principles to a double barre structure and you can select your height based on the piping you buy at your local hardware store. This tutorial uses galvanized piping, but general PVC piping also works, and is lighter if that is something that you are concerned about.
Be sure to visit their website for more awesome content! CLICK HERE
Without further ado…
This is Abby’s original “recipe” for making a ballet barre like the ones you have seen in our videos! Follow along below and/or watch the video at the end!
First thing to do, get supplies! We use galvanized piping found at home improvement stores like Lowe’s and Home Depot (we’ve had the best luck at Lowe’s). You’ll find the piping in the plumbing section and it is offered in a variety of widths and lengths. This is where you can determine what width and length is best for you and your space.

For this barre, I’m using 3/4 inch width pieces, but 1 inch pieces are a good width as well. I’m making this one shorter than the barre you’ve seen in videos so I can move around my space easily when I am working by myself. You’ll need to grab the following in all the same width:
- Two 36″ galvanized pipes
- One 36″ or longer galvanized pipe
- Four 8″ galvanized pipes (4″ also works)
- Two 3/4 inch T connectors
- Six 90* Elbows

Then attach elbow pieces to the ends of your 8″ pipes to essentially create the “feet”. When you twist these on they may not reach their tightest point at the correct angle (one of mine was facing up). You’ll just have to adjust it to be slightly less or slightly more tight to get it so the end is flat against the ground:
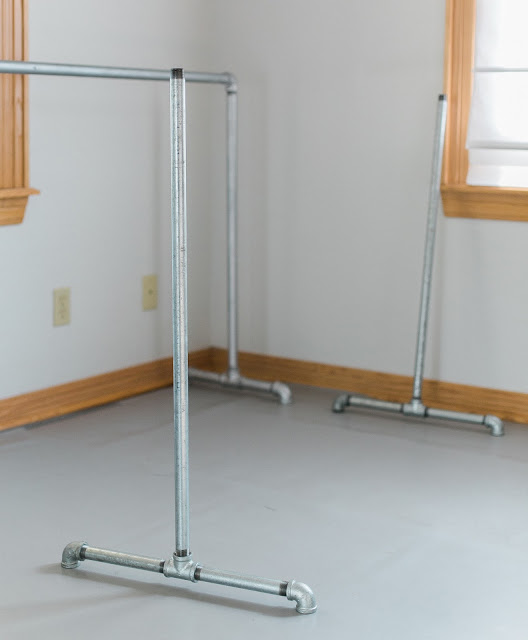
Now take another elbow piece and attach it to the top of one of the legs you’ve created, lay the leg on the ground, and screw the third 36″ inch (or whatever length you’ve chosen) pipe into the elbow.


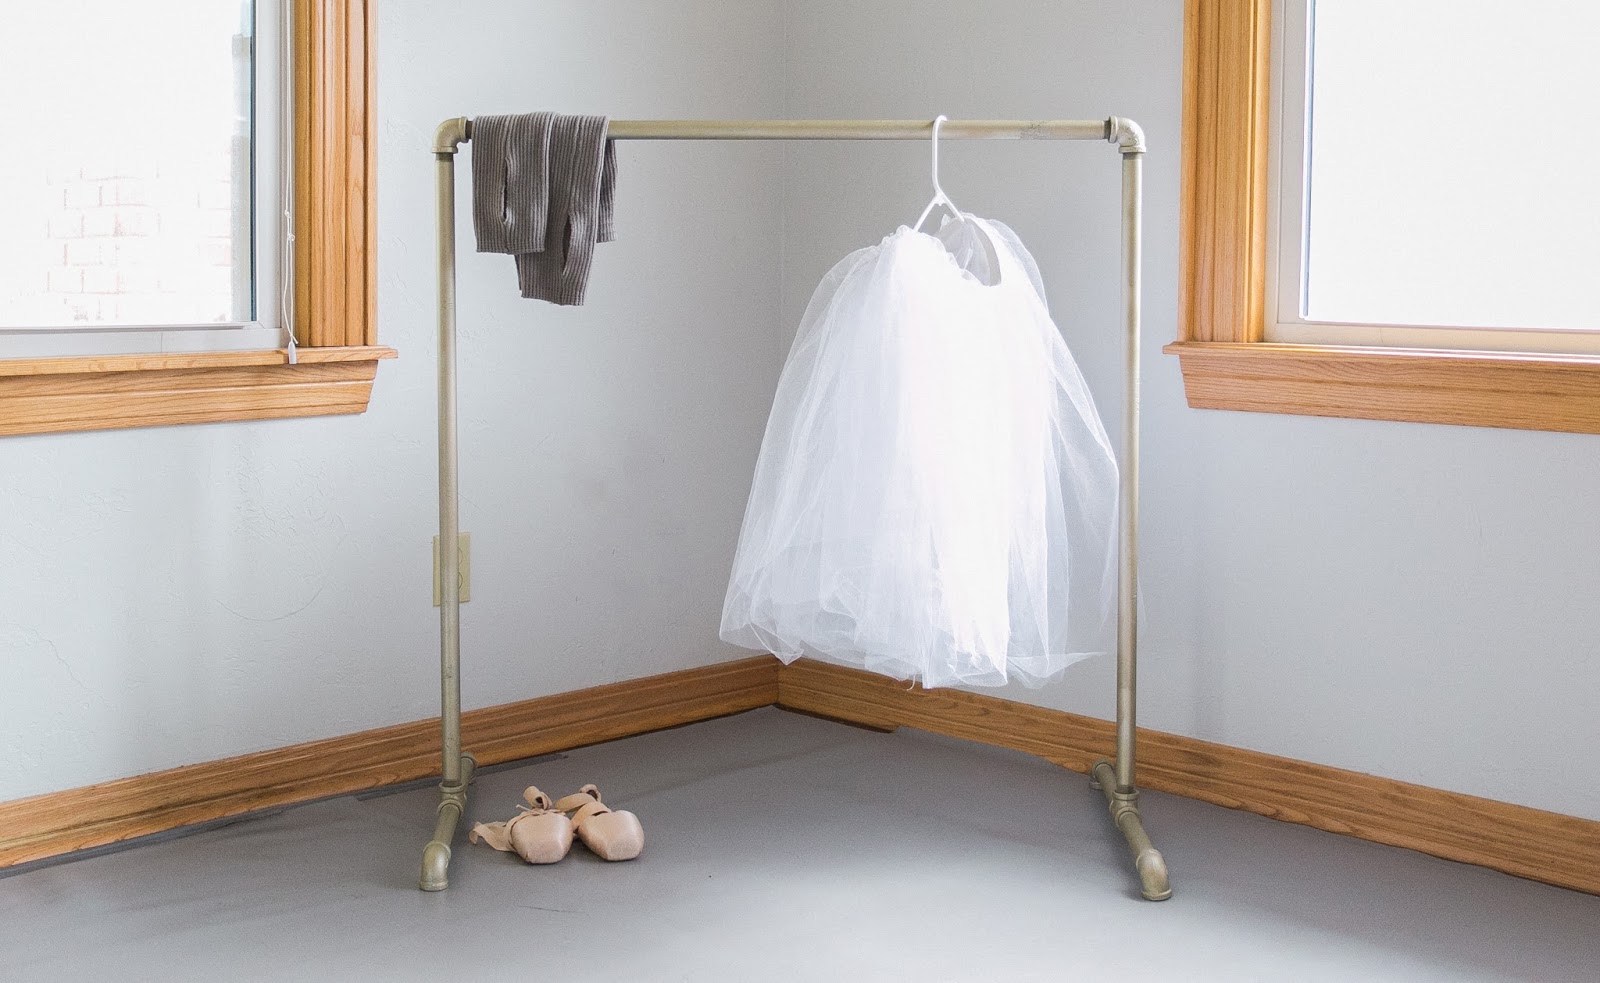
And voila! A ballet barre! For reference, the one behind me is with 1″ piping and a 6ft pipe on top, spray painted silver.

Now grab your can of spray paint and head outside! I chose a gold color this time in a brushed metallic finish. You can certainly do a matte finish as well if you fancy that!
If you make your own barre we’d love to see the results! Tag us @ballerinasbynight on Instagram!


